For creating your own appliances, you will need a casting compound such as
Plaster of Paris or Industrial Plaster, Oil Based Clay, Armature, sculpting tools,
and liquid rubber latex (room temperature vulcanized rubber).
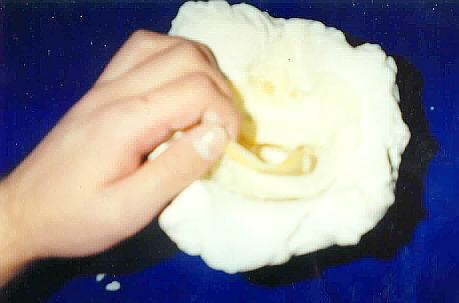
1. First you will have to sculpt your design of the appliance,
made with the oil
based clay on the armature of yourself or pre-made armatures. You start
with
the basic shape of the appliance then work out the fine details with the
sculpting
tools. Make sure to know your limits if your application can be worn without
major troubles.
2. Once done sculpting, you will have to put a thin coat of
petroleum jelly (usually
if working with a plaster armature), so that the casting plaster will not
bond with
you the original armature. Always before applying the petroleum jelly,
you should
be sure of your design, as once you have it coated. It will not be able
to be
worked with.
3. Using a plastic dish, fill it with 1 part water to 2 parts
plaster of paris or add
the plaster to the water until it will no longer dissolve. The plaster
may still be very
runny, if not at a desired consistency, let the plaster sit a while (1-2
minutes or
shorter) but don't leave the plaster unattended. With the plaster gently
put the
plaster over the sculpture, making sure that all cracks and holes on the
clay is
covered by the plaster and not to overlap the armature so much that it
will not be
possible to pry off.
Allowed to set. Test the plaster by feeling it's surface, if warm or cold,
it is not set
and should be room temperature to the touch when set.
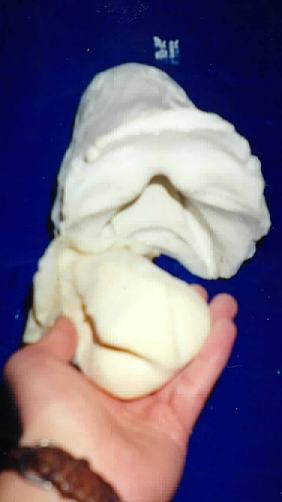
4. Carefully pull the armature and cast apart. Using a sculpting
tool, gently and
slowly take out the clay, making sure not to damage the inside of the cast.
This
process should take you a good deal of time, but the results if done correctly
are
worth the trouble having a negative part of the cast where you are to pour
your
liquid latex. Clear any extra loose plaster or clay from the negative mold
and
armature.
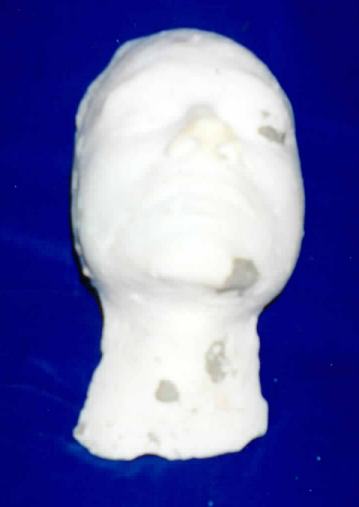
where the edges of the appliance would be. Pour the extra liquid latex back into
it's container. Then taking the armature, put it over the negative mold, so that
some of the excess latex squeezes out from the mold. This will make the edges
conform to the shape of the armature and ensure a good fit when put on. Allow to
dry and carefully pull out the appliance. Your first time doing this may not come
out exactly as expected, but practicing and perfecting your own techniques you
can make your own appliances.